Most people who love old barns first loved them from the hayloft: dust hanging in a shaft of light, the smell of cured grass, the strange feeling of standing inside the roof itself. That loft was never decoration. It is the reason the barn got tall, the roof got steep, and the beams got heavy. Understand what the hayloft was doing for the farm, and you will know which parts of yours deserve attention first.
Why the Loft Was Never Just Storage
Before balers, hay came loose off the field and had to be stored where air could move through it. A hay mow — the section of the loft where hay was pitched and tramped down — held it in a deep, breathable pile. Damp hay stacked tight can heat, and enough heat can start a fire. Hay stacked so air can pass through it cures instead, turning into feed that carries cattle through winter.
Putting that pile overhead solved three problems at once. Hay dropped through a chute or a floor opening straight to the stalls, so one person could feed a herd without carrying a fork the length of the barn. The mass of hay insulated the animals below, holding warmth in cold weather. And the animals' rising body heat helped draw moisture out of the hay above them. Loft and stable were one system: warm below, drying above.
How the Hayloft Designed the Barn Around It
Almost everything distinctive about a traditional barn traces back to that pile of hay.
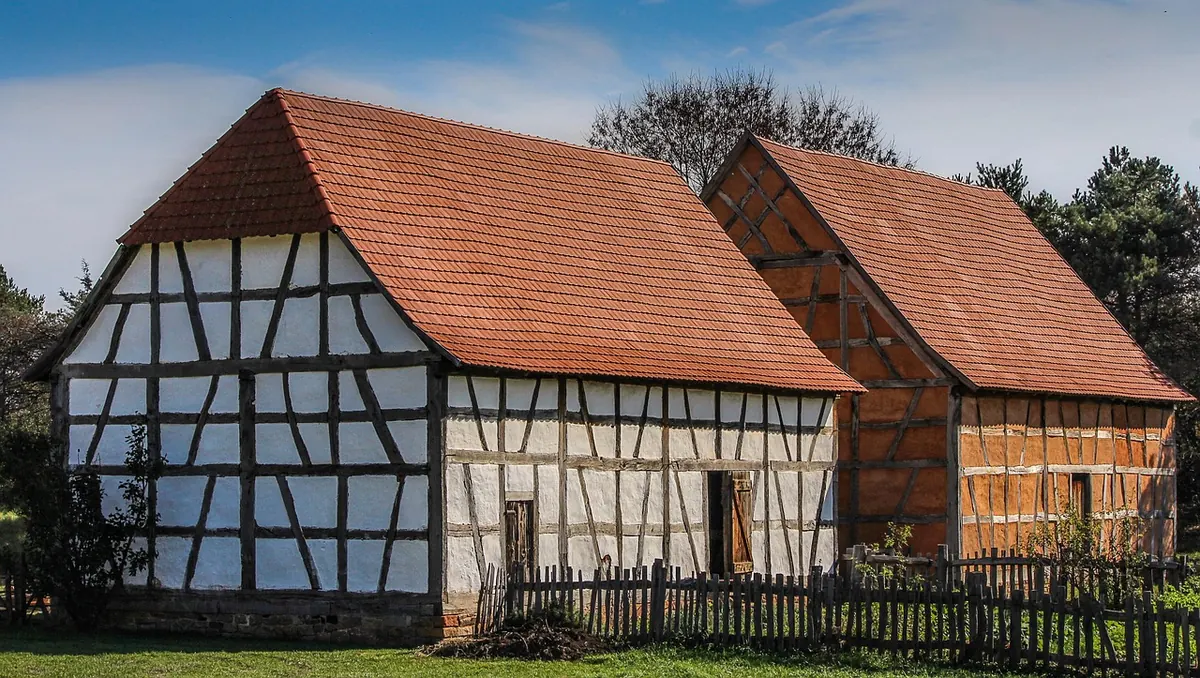
Height and pitch. Wall height was set by the volume of hay a farm needed, not by looks. Roofs were steep because a steep pitch sheds snow and rain quickly, and because it creates a deep, usable mow under a narrower span. A shallow roof wastes the space where hay would sit.
The gable end. On many barns you'll find a large door high in the gable, often with a small hood roof above it. That hood protected the hay door and the track, and kept rain from blowing in while hay was being pitched.
Bents, ties and the summer beam. Hay is a heavy, shifting load, and the frame had to carry it along with the roof. That is why barn frames lean on tie beams and heavy carrying beams rather than open cathedrals of timber. Bank barns took the idea further: the loft floor sat at grade on the uphill side, so a wagon could drive in and pitch hay down into the mow.
Getting hay up and across
Before mechanical elevators, most barns used a track along the ridge with a carrier, a rope, and a sling or grapple fork. A horse or a tractor on the drive floor did the lifting; the carrier rolled the load into position and dropped it. Later barns added cupolas and louvered gable vents so moist air had somewhere to go instead of condensing on the underside of the roof sheathing.
Floors, Ladders and Ventilation: Where Lofts Fail First
The mow floor
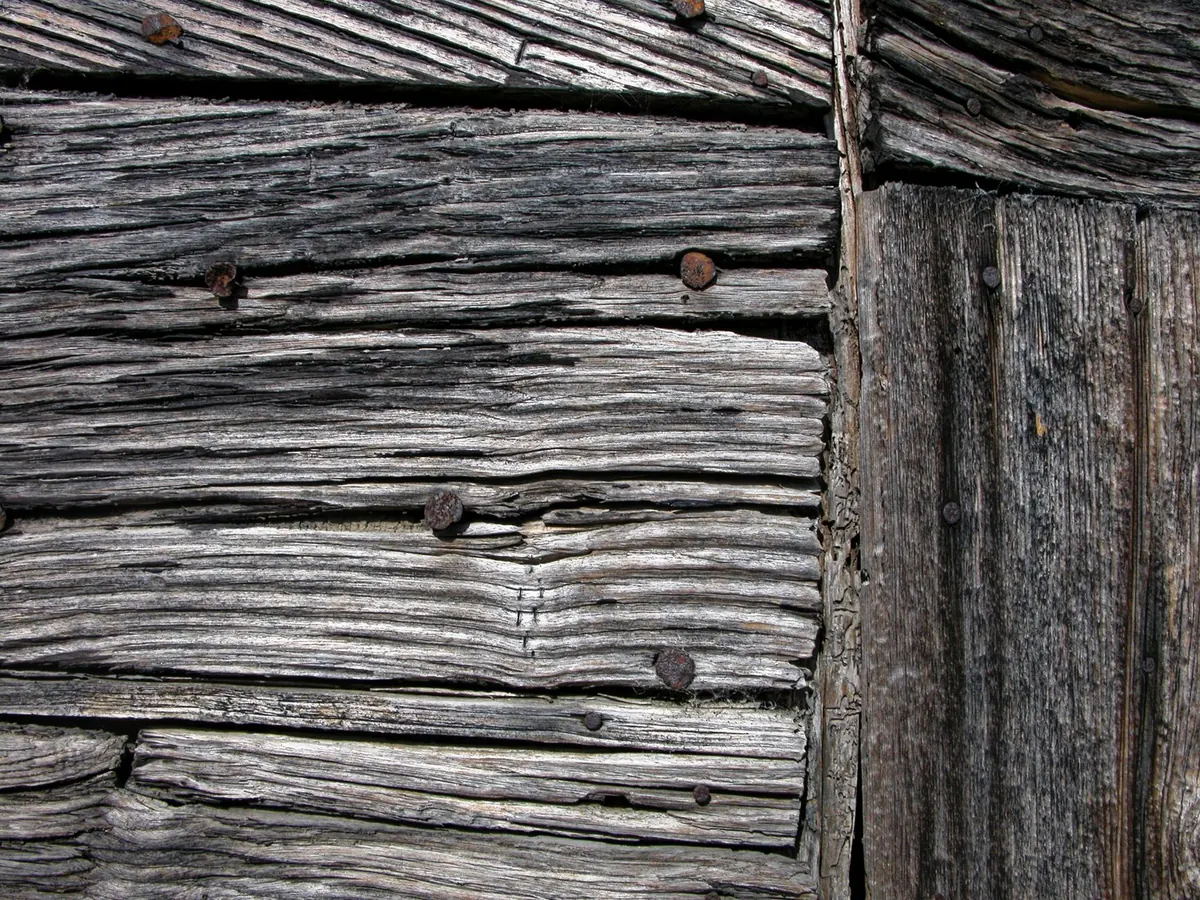
Loft floors were usually laid with gaps between planks — deliberate, so air could move up through the hay. Those gaps also mean water goes straight down. Look first at the eaves, around the hay chute, and under any roof opening, because that is where rot starts. Probe suspect planks with a screwdriver; if it sinks in easily, the plank is done. Check the beams and posts carrying the floor, too, especially where hay dust and chaff have sat for decades holding moisture against wood.
One caution worth repeating: an old mow floor was rated for hay, which is heavy but spread out. It was not rated for a tractor, a stack of crates, or a crowd. Have a qualified structural engineer look at anything you plan to load differently.
Ladders and hay chutes
Original access was often a steep ship's ladder or a cleated plank. Keep them if you love them, but treat them as historic features rather than daily stairs. If people will use the loft regularly, build a proper stair with a handrail and good footing, or set a sturdy ladder with a fixed top and a railing. A hay chute is an open hole in the floor. Fit a hinged cover or a gate so nobody steps backward into it, and keep the top of a ladder clear of the chute edge.
Air
Ventilation is the cheapest preservation work you can do. Keep cupolas, gable louvers and ridge vents open and unblocked. Do not line the loft with plastic or foam in an attempt to make it tight; trapping moisture is worse than a draft. If your barn has no vents, adding louvered openings at the gable ends and a small ridge vent gives moist air a way out.
A Practical Order of Work
- Fix water first. Roofing, flashing and gutters. Nothing else lasts if the roof leaks.
- Stop the rot. Remove chaff and old hay, clear debris from sills and beam pockets, and let wood dry.
- Support what matters. Sister or replace failing floor planks and posts. Get an engineer's opinion before doing structural repairs, and check local building requirements with your code office.
- Open the air. Restore vents, cupolas and louvers, and keep hay chute covers in place.
- Make access safe. Repair or replace ladders, add railings, light the stair, keep the floor clear.
- Then decide on use. A loft makes a fine hay storage, gathering space or workshop — as long as the floor is rated for the load and the exits are clear.
Photograph everything before you start, keep the original plank widths and hardware where you can, and make repairs that can be undone later. A hayloft is not fragile. It simply asks for the same things it always did: a tight roof above, dry wood below, moving air between, and a sensible limit on what gets stacked up there.
Photo: Ralf1403 / Pixabay