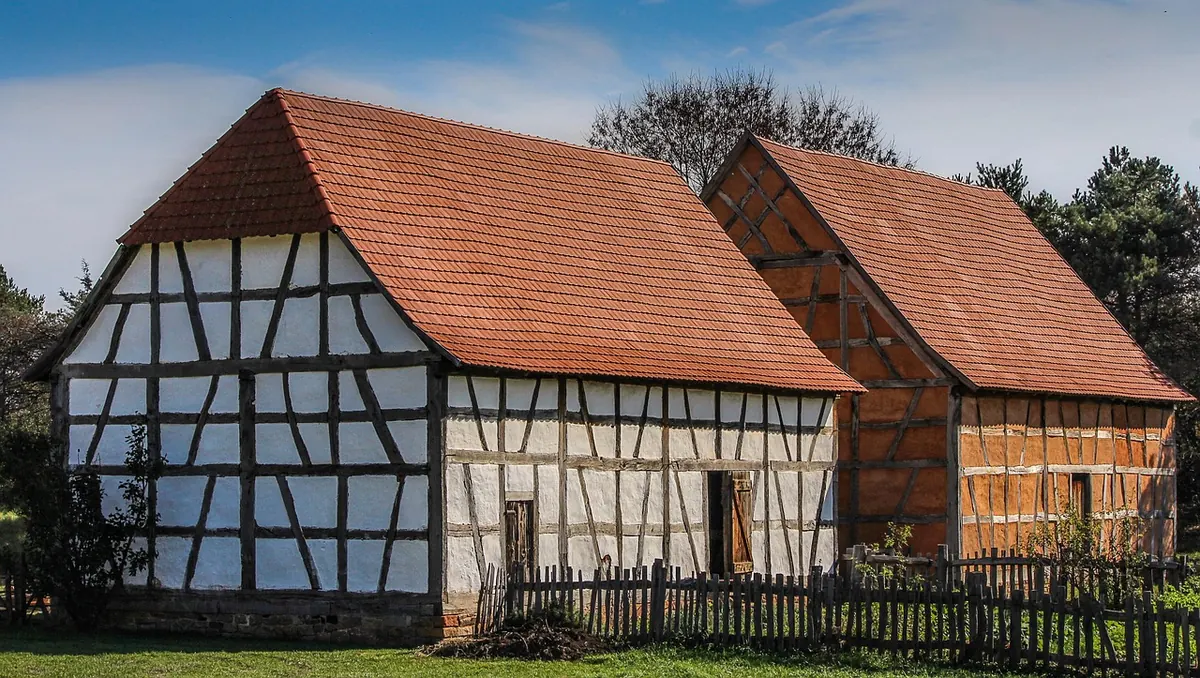
A barn with no documents is not a blank page. It kept its own diary in iron and wood — in the shape of a nail head, the curve of a saw kerf, the chiseled number on a brace. Deeds burn, families forget, paint covers everything. The frame remembers. Read those three witnesses and you can usually place a barn within a few decades, sometimes within a single generation.
Start With the Frame, Not the Facade
Most barns have been altered. A new roof, a poured floor, a lean-to for the tractor, machine-cut siding over the original boards. None of that tells you when the barn was built; it tells you when it was repaired.
Go to the oldest, most protected parts of the building: the sill beams, the attic tie beams, the underside of roof boards, the corner posts that have been sheltered for two centuries. Those surfaces have been touched least. One rule keeps you honest — a building cannot be older than its newest original feature. Find the youngest structural element that was never replaced, and you have your floor, not your ceiling.
Nails: The Fastest Clock in the Barn
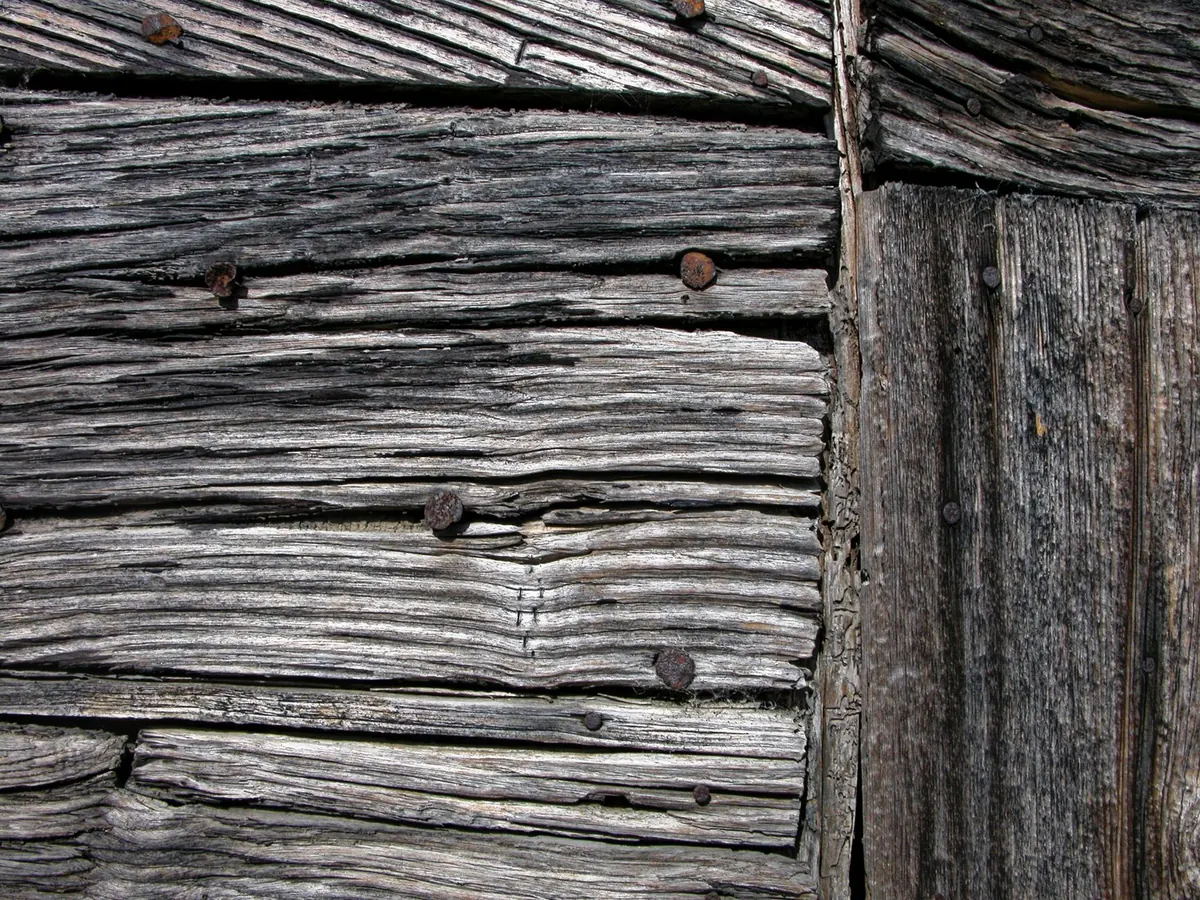
Nails are the most useful dating tool in a barn, partly because they are everywhere and partly because nail-making changed in three visible steps.
Hand-wrought nails. Made one at a time by a blacksmith from an iron rod, then headed with a few hammer blows. The shank tapers on all four sides, and the head is irregular and often faceted, which is why they are called rose-head nails. They were standard from the colonial period into the early 1800s, though a rural blacksmith might have kept making them long after factories took over.
Cut nails. Sheared from a flat plate of iron or steel by a machine, then headed. The shank is rectangular in cross-section, and early versions taper on only one face, giving a wedge shape that grips oak ferociously. Cut nails came into use around the turn of the nineteenth century and dominated construction by the 1820s, staying common into the 1880s.
Wire nails. Drawn from a coil of wire, with a round shank and round head. They arrived in quantity in the 1890s and never left. A wire nail in original framing usually means a barn from the 1890s or later — or a later repair.
Where you find the nail matters as much as what kind it is. A hand-wrought nail in a door hinge proves nothing. Hand-wrought nails in the roof boards and the frame indicate an early build. And because nails were expensive, they were pulled and reused constantly, so check several locations before you commit.
- Look at the head. Faceted and off-center means hand-made. Flat, rectangular and slightly off-square means cut. Evenly round means wire.
- Look at the shank. Four tapered sides, wrought. Rectangular with a wedge taper, cut. Round, wire.
- Look at the location. Original joints and roof boards carry the build date. Patches carry later dates.
- Look for rust staining with no nail in it. A pulled nail leaves a shadow of its taper in the wood.
Saw Marks: Reading the Blade
Every sawn surface in a barn records the machine that cut it. Four kinds of marks show up in American barns, and they appear in roughly this order.
Pit saw. Before sawmills, timber was cut by hand over a pit, one sawyer above and one below. The kerf wanders, tapers, and shows the uneven rhythm of two people working. Common in the earliest framing.
Sash saw. A straight blade moving up and down while the log feeds forward. The marks are straight, roughly parallel, close together, and often slightly angled, with occasional chatter where the feed faltered. Water-powered sash mills ran from the 1600s into the 1800s.
Circular saw. A round blade leaves curved arcs scalloped across the board, spaced wider than sash marks. The radius of the arc hints at the size of the blade. Circular mills spread through the early and mid-1800s and were the norm in much of the country by the 1870s and 1880s.
Band saw. A continuous loop of thin steel. The marks are faint, close, and nearly straight with a slight wave — a much finer surface than the earlier mills. Band mills appear in the last decades of the 1800s and dominate after 1900.
Check the underside of roof boards and the faces of joists. Anything planed or covered hides its marks, so look up in the loft where nobody sanded.
Roman Numerals and Carpenter's Marks
Look near the joints. On the tenon end of a brace, the shoulder of a tie beam, or the post beside a mortise, you may find a chiseled numeral — I, II, III, a run of slashes, or a slash with a stroke drawn through it.
These are assembly instructions. A frame was cut in a yard or at the woodlot, then raised by a crew that needed each brace to find its own mortise. Matching timbers got matching marks, a practice that descends from medieval European timber framing and stayed in use into the 1800s.
Timber marks rarely date a barn on their own, but they do three useful things. They confirm the frame is original and was raised as a unit. They show which timbers belong together and which are replacements slipped in later. And the style offers a hint: deeply chiseled Roman numerals and tally systems lean early, while neat incised Arabic numbers or stamp marks tend later.
Hewn Beams and the Square Rule
Hand-hewn surfaces carry their own signature: broadaxe facets, adze dressing on floor joists, scored lines where the hewer notched a log before flattening it. Hand-hewn framing generally points earlier, but it persisted wherever transportation was hard and labor was cheap.
Framing systems changed too. Under the scribe rule, each timber was fitted to its neighbor individually, which is why early frames carry matched marks and odd dimensions. In the early 1800s the square rule took over: timbers were cut to a common reference square so any brace of a given size could fit anywhere. A frame with uniform dimensions and fewer matched marks is usually a nineteenth-century building. Treat these as tendencies, not laws. A farmer with a broadaxe and no cash could raise an old-fashioned frame in 1880.
What Else to Check
- Roof shape. A gambrel roof usually points to the late 1800s or early 1900s, though the form was revived later.
- Hardware. Hand-forged strap hinges and wooden pegs lean early. Cast hardware and machine-made latches lean later.
- Foundation. Fieldstone piers and dirt floors are early; continuous poured concrete is not.
- Sheathing and openings. Hand-split lath, plaster, and twelve-over-twelve sash lean earlier than machine-cut lath and wire.
- Reuse. Beams salvaged from an earlier building can be two generations older than the barn around them.
Putting the Clues Together
- Find the original frame and ignore anything added later.
- Identify the nails in the original work to get a bracket.
- Read the saw marks on original boards to narrow that bracket.
- Note timber marks, joinery, and tool marks for confirmation.
- Date the youngest original feature. That is your earliest possible construction date.
- Corroborate with tax rolls, census records, deeds, or a local historical society.
Write down what you find, and photograph the evidence with something for scale — a nail head beside a ruler, a kerf in raking light, a numeral beside its matching partner. That will persuade a historical society or a preservation officer far better than a guess. A barn dated "1810 to 1840" is more useful and more honest than one pinned to a false single year. If you need a formal date for a nomination, a tax credit, or a restoration plan, a preservation consultant or architectural historian can take the work further with methods like dendrochronology. Then go back out in a different season, when the light hits the loft at a new angle, and read it again.
Photo: Jonathan Cooper / Pexels