The first thing most new barn owners study is the roof. The foundation gets its turn later, usually after a hard rain, when a damp stripe shows up along the sill or a crack looks wider than it did last spring. That is normal. Old barn foundations were built by farmers, not engineers, and plenty of them have been quietly holding up a heavy timber frame for a century or more. What matters is telling apart the problems that need attention this year from the ones you can simply watch.
Start With a Slow Lap Around the Base
Before you price anything, walk the whole perimeter with a flashlight, a screwdriver, and a camera. Get down at the sill and look hard at the wall below it. Do the same walk during a rainstorm, when water shows you exactly where it wants to go.
You will likely find one of three foundation types:
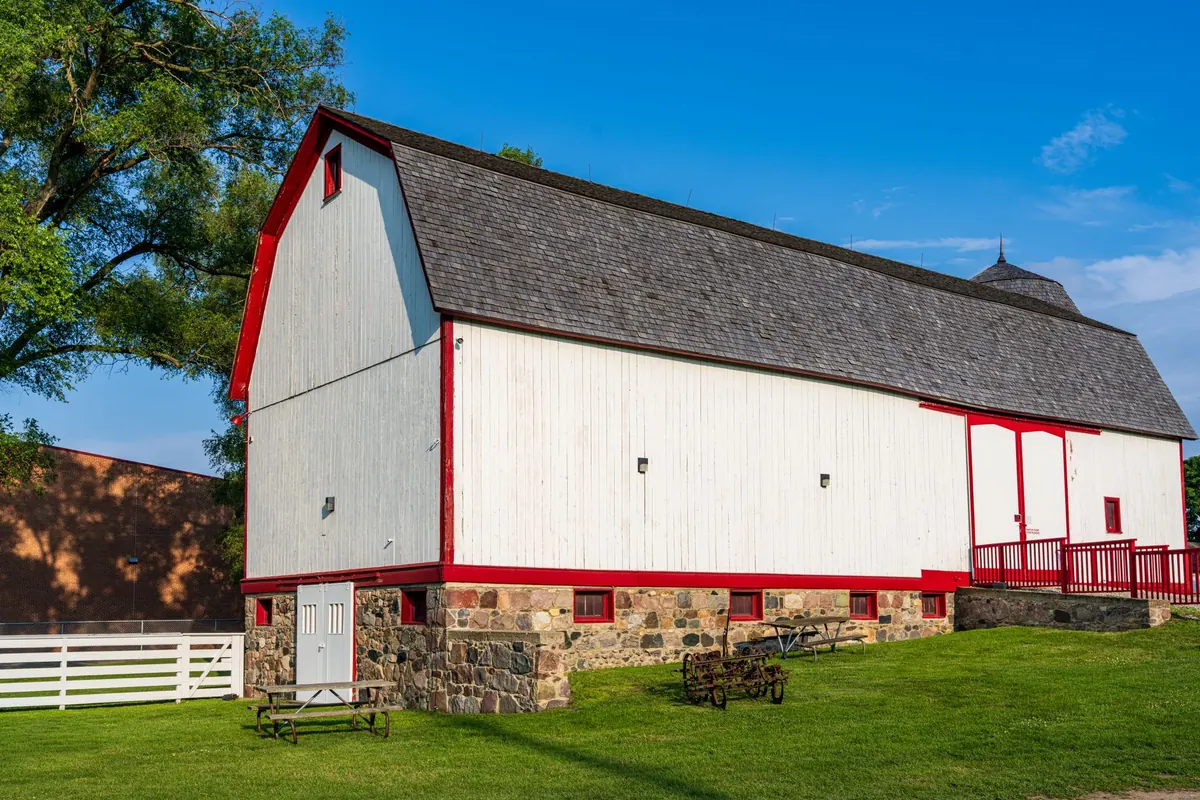
- Fieldstone or rubble. Irregular stones set in lime mortar, often laid on a widened base of larger stones rather than a poured footing. Typical in barns built before 1900. The mortar is deliberately softer than the stone.
- Cut stone or brick. Dressed blocks with thin joints. Strong until the mortar fails, and unforgiving once the ground moves.
- Concrete. Poured or block, generally from the early 1900s onward. Predictable, though early pours often had no rebar and sat above frost depth.
Whatever you have, note the same clues: crumbling or sandy mortar, stones that shift when you lean on them, stair-step cracks, horizontal cracks, and hollow spots you can probe. Then look outside the wall. Trees within a few feet, downspouts that dump at the base, and grade sloping toward the barn cause more damage than most people expect.
Telling Cosmetic Cracks From Structural Ones
Not every crack matters. Shrinkage cracks in concrete are usually narrow, vertical, and stable. A crack that has opened since last year, or one where the two sides no longer sit in the same plane, means something moved.
A few rules of thumb help. Stair-step cracking through block or brick points to settlement. A long horizontal crack in a block wall usually means soil and water are pushing inward, and that is an engineer's call, not a weekend project. Diagonal cracks running from a corner often follow a failing footing. Mortar that crumbles when you drag a screwdriver across it has simply reached the end of its service life.
Document what you find. Draw a pencil line across each crack, date it, and photograph the wall. Check again in six months. Slow movement that has stopped is a different conversation than movement that is ongoing.
Water First, Always
Handle drainage before you spend a dollar on masonry. Water is behind most old foundation failures, and it is the cheapest problem to fix properly. Regrade so soil slopes away from the wall. Extend downspouts and gutter drains well past the building. If the barn sits in a low spot, a shallow swale or a French drain on the uphill side relieves the pressure.
This will not straighten a wall that is already bowed. It will keep the damage from getting worse while you plan the real work.
Repointing: The Fix That Goes Wrong Most Often
Repointing — raking out failed mortar and packing in new — is the right answer for most failing stone and rubble foundations. The mistake is choosing the wrong material. Old walls were built with lime mortar, which is soft, breathable, and sacrificial: it cracks and crumbles so the stone does not. Repoint with modern Portland cement and you create a hard, brittle joint that traps moisture and spalls the faces off your stones within a few winters.
Match the original. Lime putty or a natural hydraulic lime mixed with sharp sand is usually right for a pre-1900 barn. Test one small area, let it cure through a season, and compare it against the old work before committing.
The technique is simple but rewards patience:
- Probe every joint with a screwdriver and mark the ones that are soft or hollow.
- Rake out the failed mortar to a depth at least equal to the joint width — often three-quarters of an inch or more in rubble work. Use hand tools, not a grinder.
- Brush out the dust and dampen the joint so the new mortar does not dry too fast.
- Pack in small batches, in thin layers, letting each firm up before the next.
- Tool the joint to match the original profile, then keep it damp for several days with a misting bottle or damp burlap.
Work in sections, one wall this season and another the next. Avoid full sun, hot afternoons, and anything close to freezing.
Underpinning: When the Ground Is the Problem
If the foundation is settling, cracking, or sitting too shallow for frost, repointing only hides the symptom. Underpinning extends support down to firmer, deeper soil. Common approaches include mass concrete underpinning, where sections of new footing are poured in alternating digs; helical or push piers driven or screwed to bearing strata; and internal pier-and-grade-beam systems that carry the load on new footings inside the wall line.
This work is engineered, usually permitted, and rarely cheap. It also requires shoring the timber frame while the foundation is opened, because an old barn is a stiff, heavy structure that does not enjoy being unsupported at a corner. If someone proposes underpinning without a stamped plan, get a second opinion.
Reinforcing Concrete Foundations
Concrete gives you more repair options than stone. Narrow structural cracks can be injected with epoxy; leaking ones are better sealed with flexible polyurethane. Bowing block walls are sometimes stabilized with carbon fiber straps or steel anchors, both sized by an engineer for the actual load. Hollow block can be strengthened by filling cores with grout and rebar. Spalled faces get patched with a proper repair mortar once the cause — usually water — has been dealt with.
While you are down there, inspect the sill. Rot in a sill plate is often blamed on the foundation when the real culprit is a missing gutter or grade that has crept up above the wood over decades.
A Practical Order of Operations
Fix water first, always. Then document, monitor, and repoint the mortar that has failed. Bring in a structural engineer before you underpin, brace, or reinforce anything carrying load, and check with your local building department before digging or pouring. Find someone who has worked on barns specifically — the loads and framing differ from a house, and the repairs should respect how the building actually stands.
Expect to pay for a real assessment, and keep the report, the photos, and the receipts together. A documented foundation is easier to insure, easier to sell, and easier to live with when the next hard rain arrives.
Structural repair touches on safety and building codes. For anything beyond routine repointing, consult a licensed structural engineer and your local code office before starting work.
Photo: Phil Evenden / Pexels